Avoid These 5 Common Retouching Mistakes for Better Retouching Results
We all start from scratch in photography and retouching, whether it’s a hobby or profession. The key to improvement is constant learning, deliberate practice, refining our workflows, and intentionally avoiding common retouching mistakes.
Let’s look at which actions and habits can stall your progress in becoming a better beauty retoucher. I’ve made these mistakes myself and have seen many fellow artists in the Retouching Academy group make them too.
Once you become aware of what they are, it will be easy to leave these bad habits behind. Here’s how I trained myself to overcome these roadblocks:
1. Information Overload vs. Practice:
Learning new skills is great, but over-learning without deliberate practice can actually hold you back.
In “Peak: Secrets from the New Science of Expertise” the excellence experts Anders Ericsson and Robert Pool state:
…these automated abilities [your previously acquired skills] gradually deteriorate in the absence of deliberate efforts to improve.
Purposeful practice has several characteristics that set it apart from what we might call “naive practice,” which is essentially just doing something repeatedly, and expecting that the repetition alone will improve one’s performance.
Sure, devouring YouTube tutorials and experimenting with Photoshop magic tricks is fun, but will it lead to mastering a skill you can consistently use as a creative professional in your freelance business? How long will that journey take?
If you are just starting to learn retouching, learn the basics first – Layers management, Clone Stamp, Healing Brush, Selections, Adjustment Layers, Blending Modes, and Dodge & Burn.
Then, practice.
Retouch 10-20-30 images (depending on your determination and self-discipline) from start to finish (we’ve got some practice files for you here) to solidify your understanding and skills.
You’ll see a lot more improvement in a much shorter time than continuing to surf through random YouTube retouching tutorialss that offer no structure, strategy, or direction for acquiring this skill at a level above mediocre.
Make sure you’re learning from those with real-world experience in high-quality retouching, not hobbyists lacking the knowledge necessary for the streamlined, non-destructive, lean retouching workflow that professionals absolutely need.
Additional food for thought:
- Spaced Repetition: Instead of consuming large amounts of information at once, spaced repetition systems deliver smaller chunks in increasing intervals, leading to better long-term retention. Studies show a significant advantage of spaced repetition over massed practice, with one study demonstrating a 90% retention rate after 6 months compared to 20% for massed learning (Cepède, 1807). This means that you are better off learning retouching and practicing for an hour or two a few times per week than learning & retouching for 10 hours once a week.
- Interleaving: Mixing different skill components or practice tasks during learning leads to stronger connections between them and ultimately better performance. Meaning that a full retouch of just one practice image will allow you to practice a range of tools and techniques at once, which is great.
2. Not Refining Raw Files Before Retouching in Photoshop
One of the most common retouching mistakes is neglecting to refine Raw files before bringing them into Photoshop. There’s a good reason why we shoot in Raw format. Raw files contain a wealth of recorded light and color data, making them much more forgiving than compressed formats.
If you shoot your own images and your lighting skills are not yet top-notch, you can improve image quality before taking them to Photoshop for retouching. It makes no sense to discard all that rich light and color data without extracting the best possibilities from each image.
There are many ways to prepare your Raw files for retouching, here’s my process before I even open an image in Photoshop: My Beauty Retouching Workflow: Before Retouching Even Begins, Part 1, Part 2 and Part 3.
Additional food for thought:
- Studies on human perception show that viewers are more sensitive to global image properties like brightness and contrast than local details (Winkler, 2015). By optimizing these qualities in your Raw files, you can achieve a more aesthetically pleasing result, and hopefully minimize retouching needed as well.
3. Not Zooming Out Enough
Another common retouching mistake is zooming in too much or staying zoomed in too long while retouching skin, facial features, and other details. This makes you overwork tiny details and lose sight of the bigger picture.
This is a game-changer – stop pixel-peeping!
Zoom out often to see the entire face or image and maintain a natural look.
Working when zoomed in for too long makes us spend more precious time than necessary retouching one photo, and over-polish everything in the process, losing the realism of the image.
In short, when staying zoomed in for too long while retouching you are wasting more time on unnecessary details and getting a result that is worse than it could have been.
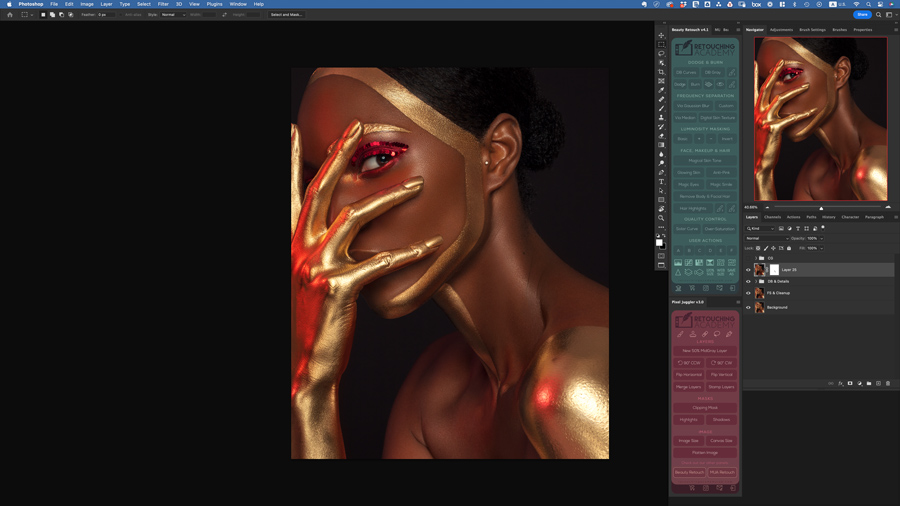
Our smart retouching panels Beauty Retouch UXP panel & Pixel Juggler UXP.When I realized this, I had to actively remind myself to zoom out to see the entire image (or just the face) on my screen, especially while Dodging & Burning.
I zoomed in only when I needed to work on a small area using small D&B brushes – then zoom back out.
It soon became second nature.
Make an initial effort, and you’ll quickly see the benefits of this approach. This tiny tweak is an important working habit and it will help improve your retouching results.., and save you a ton of time in the long run.
4. Not Checking Your Progress
Over the past 7-8 years, I’ve worked with several retouching assistants on commercial projects that I photographed, as well as other commercial retouching projects through Avenue Retouching Agency.
They handle initial cleanup, basic skin, and hair retouching, and I then adjust their results, fine-tune, color-correct, color-match, and finalize each image.
Even though my assistants are very skilled, one important thing I had to teach almost all of them is to frequently toggle the working layers in the PSD file to monitor their retouching progress and compare the interim results to the original as often as possible throughout each retouch.
It’s simple but vital.
If you don’t toggle, you risk drifting away from the realism of the original capture. Over-retouching, unintended reshaping, over-contouring, and other errors can creep in unnoticed.
I forced myself into the habit of checking my progress often, and I do it with clear intention.
I stop and zoom out to see the entire image, and toggle all working layers to see where I am at in relation to the original capture.
I toggle many times – on/off, on/off… – while I am scanning the entire image, from the overall look to local areas I have adjusted to ensure I did not unintentionally deviate from the original.
Model @kensnation, Makeup & hair by @lupemoreno_mua ,Photo & post @juliakuzmenko And if I do notice such deviations, I either adjust the Opacity of the respective layers, add Layer Masks and conceal errors, or even group multiple layers and add a Layer Mask to the whole group to correct my mistakes before investing more time and departing further from the original image.
This small step makes a big impact in maintaining the authenticity of the photo.
5. Over-Perfecting Skin and Other Details
One of the most common retouching mistakes is over-perfecting skin and other details, often due to a lack of understanding of anatomy, industry trends, or visual taste.
Over-brightening eye whites and teeth, over-retouching skin, over-contouring, over-sharpening, over-“liquifying” – you get the idea.
But don’t worry, we all begin there 🤷♀️
Train your eye for balance and realism. You can examine advertising images by top cosmetics and skincare brands in magazines, cosmetics departments at shopping malls, and cosmetics & beauty supply stores such as Sephora.
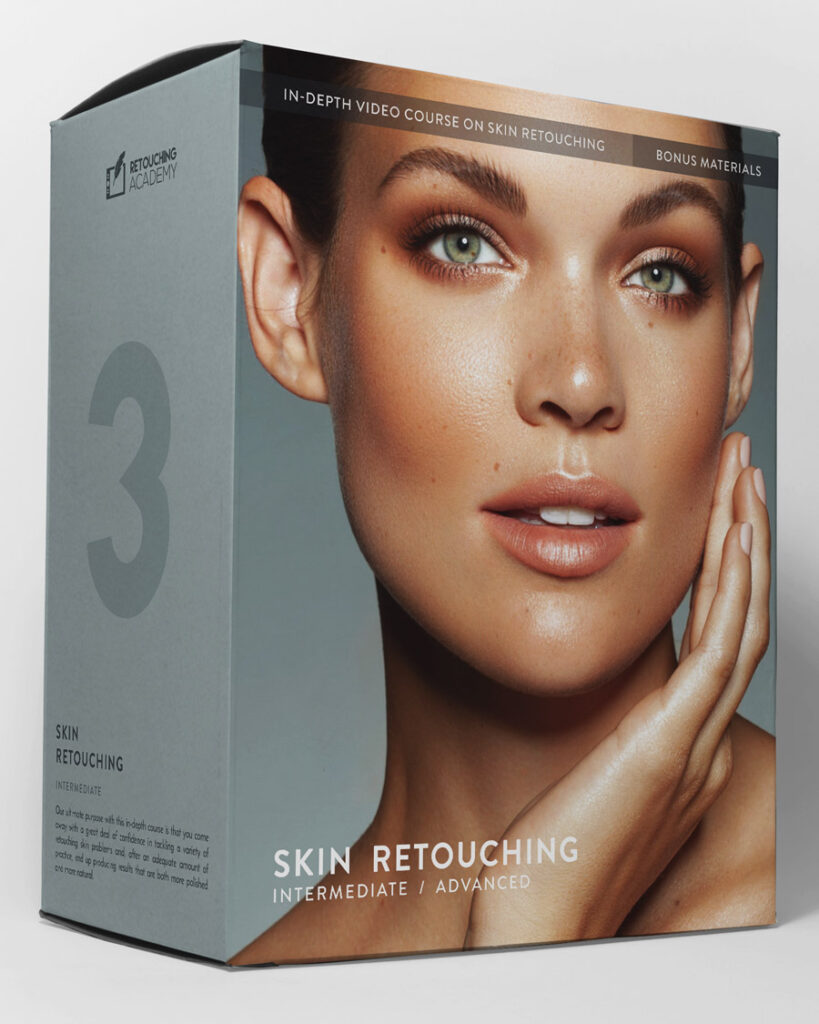
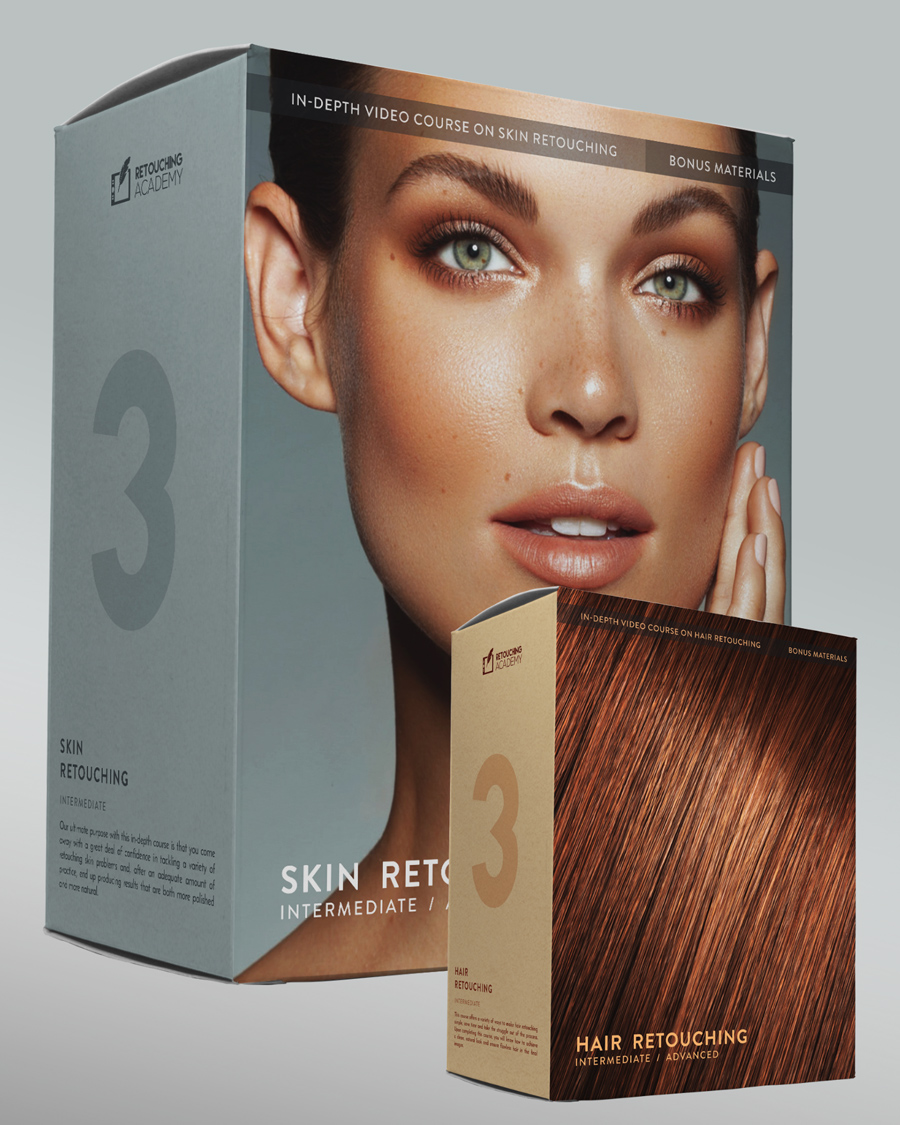
Check out the Skin Retouching video course that I developed with Retouching Academy. Our goal for this course is that you gain a great deal of confidence in retouching skin and end up producing results that are both more polished and more natural. Use promo code JKM20 for 20% off.
Notice how subtle imperfections are always left in for a more realistic, human appearance.
Chasing perfection also often leads to unnatural-looking results, especially for beginners.
Train your eye by immersing yourself in beautiful, high-quality imagery in your preferred genre or style. It’s more important now than ever to preserve the realism of the original capture for most beauty brands.
Mastering Retouching and Avoiding Common Retouching Mistakes
I would also like to add that I am convinced beginners should go easy on the Liquify filter if their knowledge of human anatomy is limited.
Learning about bone and muscle structure and observing faces in motion with intention will help artists subtly reshape forms when requested by a client without making it obvious to the viewer.
Analyze photos, paintings, and films. The more you see, the better you’ll become at retouching and photography in general.
With plenty of hands-on practice, of course 🙂
Other Notes
I will also quickly mention that for quality retouching results you should definitely consider working with a graphics tablet.
Wacom Intuos Pro Small is my tablet of choice.
And lastly, if photography and retouching are not just a hobby, you should educate yourself on the fundamentals of color management and color calibrate your monitor on a regular basis.
My current color calibration device is Datacolor Spyder X Elite.
Hope you find my notes helpful!
Updated, originally posted on the Master Beauty Photography blog.

Thank you very much. Could you please suggest a medium range Wacom tablet which can be suitable for a semi professional retoucher
Thank you julia for shareing ur experience.. 🙂
These points are very helpful.
Information diet. Lol
Yes, the best diet for the brain 😀
Thanks a lot, Julia! As usual, your articles are pure gold.
Thaks a lot julia for sharing your blog..it helps me a lot for a my learning exp.
It is my pleasure Suman 🙂
cant wait for you guys to drop the color tutorial with Vibrant Shot!!!
Thank you 🙂 It’s already fully recorded, in post-production now 🙂
Hello Dear.Would you mind tell me how to shoot the best photo for retouching .
my Cammera Model=NIKON D90 My light are =650 box lights
the setting i usualy use ISO=320 Shutter Speed=1/150 F=13
Pleas help me thanks
Great article. I have been doing this recently, and I have noticed a vast improvement in my retouching. I have even starting revisiting some o my older images and have noticed how much better they look now.
Thanks again =D
Hi Keddy, that’s awesome to hear!!! Thank you for taking the time to leave your nice comment 🙂
Your article helped me a lot, is there any more related content? Thanks!
Hello Binance,
Thank you for taking the time to read it 😊
You can find a lot of retouching-related content on our Retouching Academy blog: https://retouchingacademy.com/blog/ and also on my old blog where I wrote about beauty photography and retouching: https://masterbeautyphotography.com/macro-beauty-for-makeup-cosmetics-and-skincare-photography-preparation-camera-settings/
I am gradually updating the most valuable articles from that old blog to post the newer updated versions here as well 😊
Hope this helps!